Initial Step 1: Opening Metamask
Begin by launching the Metamask wallet application through your preferred web browser. Ensure that you are currently connected to the Avalance Network C-Chain.
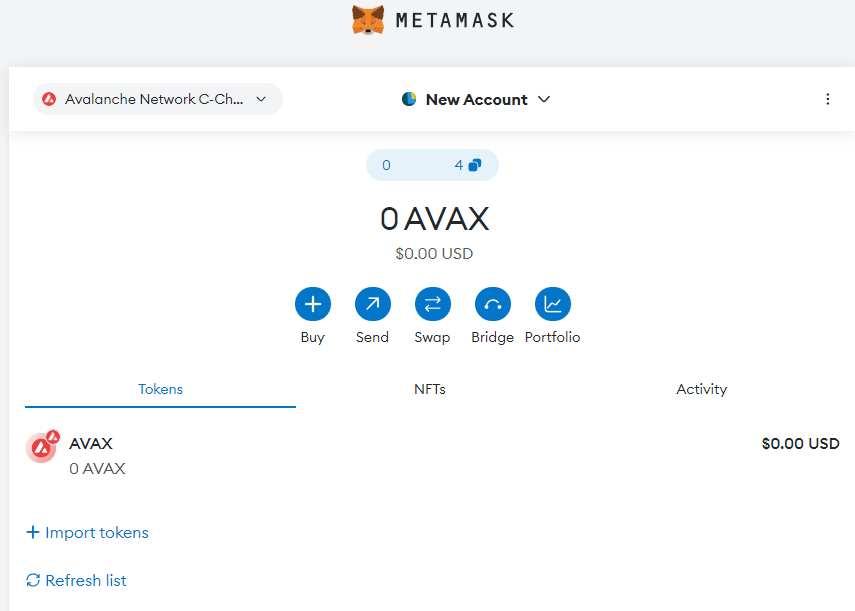
Step 2: Access Token Import Options
Navigate to the main interface once you've successfully opened your Metamask wallet. There, you'll find the "Import Tokens" button. Click on it to activate the option for adding custom tokens to your wallet.
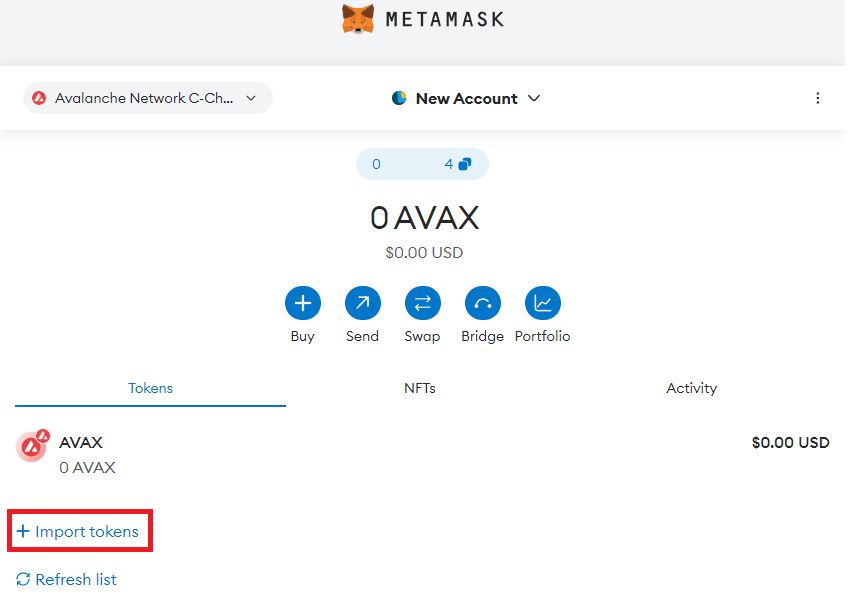
Step 3: Input USDC Token Address
After clicking on the "Import Tokens" button, a dialogue box or form will be displayed, requesting the required information. Paste the USDC token address obtained from SnowTrace.IO in the designated field. It is of utmost importance to ensure that the address is copied accurately. The following details are required:
USDC Token Address: 0xB97EF9Ef8734C71904D8002F8b6Bc66Dd9c48a6E
Token Symbol: USDC
Token Decimal: 6

Step 4: Click "Add Custom Token"
After successfully entering the USDC token address, locate the "Add custom token" button and click on it. This action will initiate the token import process.

Step 5: Verify Token Import
Once you click "Add custom token," Metamask will validate the USDC token on the Avalanche C-Chain network. The token details, such as the symbol, decimal places, and token name, will be displayed for your review. Confirming that these token details match the USDC Token you wish to import before proceeding is essential.
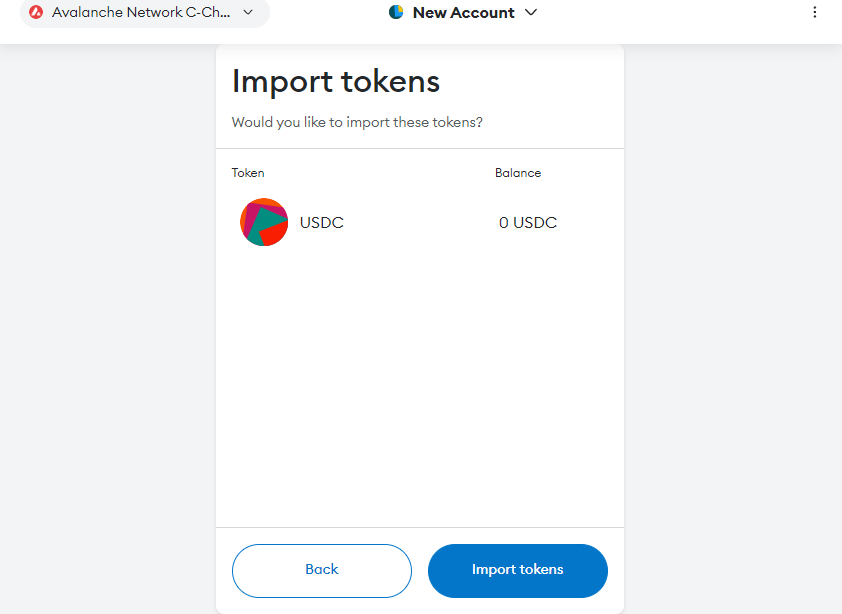
Step 6: Complete Token Import
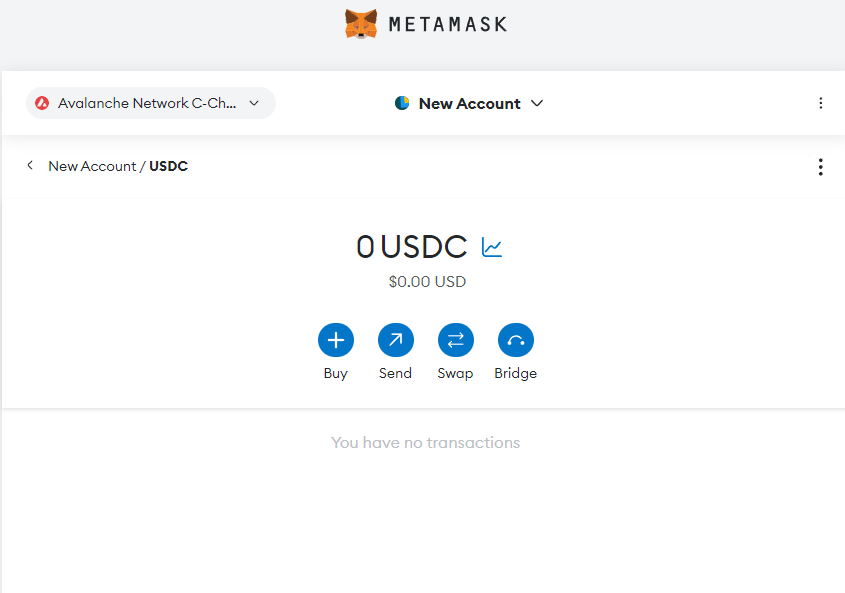
To complete the process, simply click the "Import tokens" button. Metamask will then import the USDC Token on the Avalanche C-Chain network into your wallet. Once imported, the token will become visible and accessible in your Metamask wallet.

Congratulations on successfully adding USDC to your Metamask wallet! You're ready to take advantage of its features and maximise your digital assets!


.png)
.png)
.png)
.png)
.png)